AP160 Carrier Hill
After the latest Budapest adventure, Patch and I decided to try a desert scenario from the latest Action Pack. From the Land Down Under has an interesting spread of scenarios including a desert one, and one for Hatten in Flames. “Carrier Hill” features Italians defending an exceptionally large hillock against an Australian force. The British need to take five summit hexes and control the Locations of three 75mm guns (or eliminate them; normal malfunction cannot eliminate them by SSR).
The Italians have sixteen squads, a HMG, three LMGs, two MTRs, the three ART and two 20mm AA guns. The ART must start in sangars (which Patch, who had the Italians, promptly started moving them out of, as it makes them really vulnerable to overruns), while everything else can (and did) start in a sangar. Naturally, this was all one big gray blob on the hillock; or a tan one with all the sangar counters on top. The British enter six bren carriers (two each of the three main types) and to Matilda IIs on the first turn, and then get nine-and-a-half squads on turn 2 with good leadership, three LMGs, an ATR, and a MTR. Conditions are dry with no wind (and no wind change DRs—whoops—we missed that), and there is a dawn LV hindrance equivalent to the normal mist rules (must be pre-sunrise, as there’s no sun-blindness); perfect vehicle dust weather.
The full area is three desert boards, and the turn 1 vehicles enter from the south. My major concern going into this was time. The scenario is six turns long, the infantry doesn’t arrive until turn 2, and will take at least two turns to get up to the Italian positions, where they can take Control of the objectives. Frankly, just getting them in the fight will be two turns. That leaves three turns to knock out three guns and take four hexes. So, the Matildas made their best speed north, and the carriers entered into two platoons trying arrange for some vehicle dust benefit. Patch didn’t fire until DFPh, and immediately hit and killed a carrier with an AA, who then got two possible shocks against a second one (both passed), while other guns changed CA in preparation for his turn.
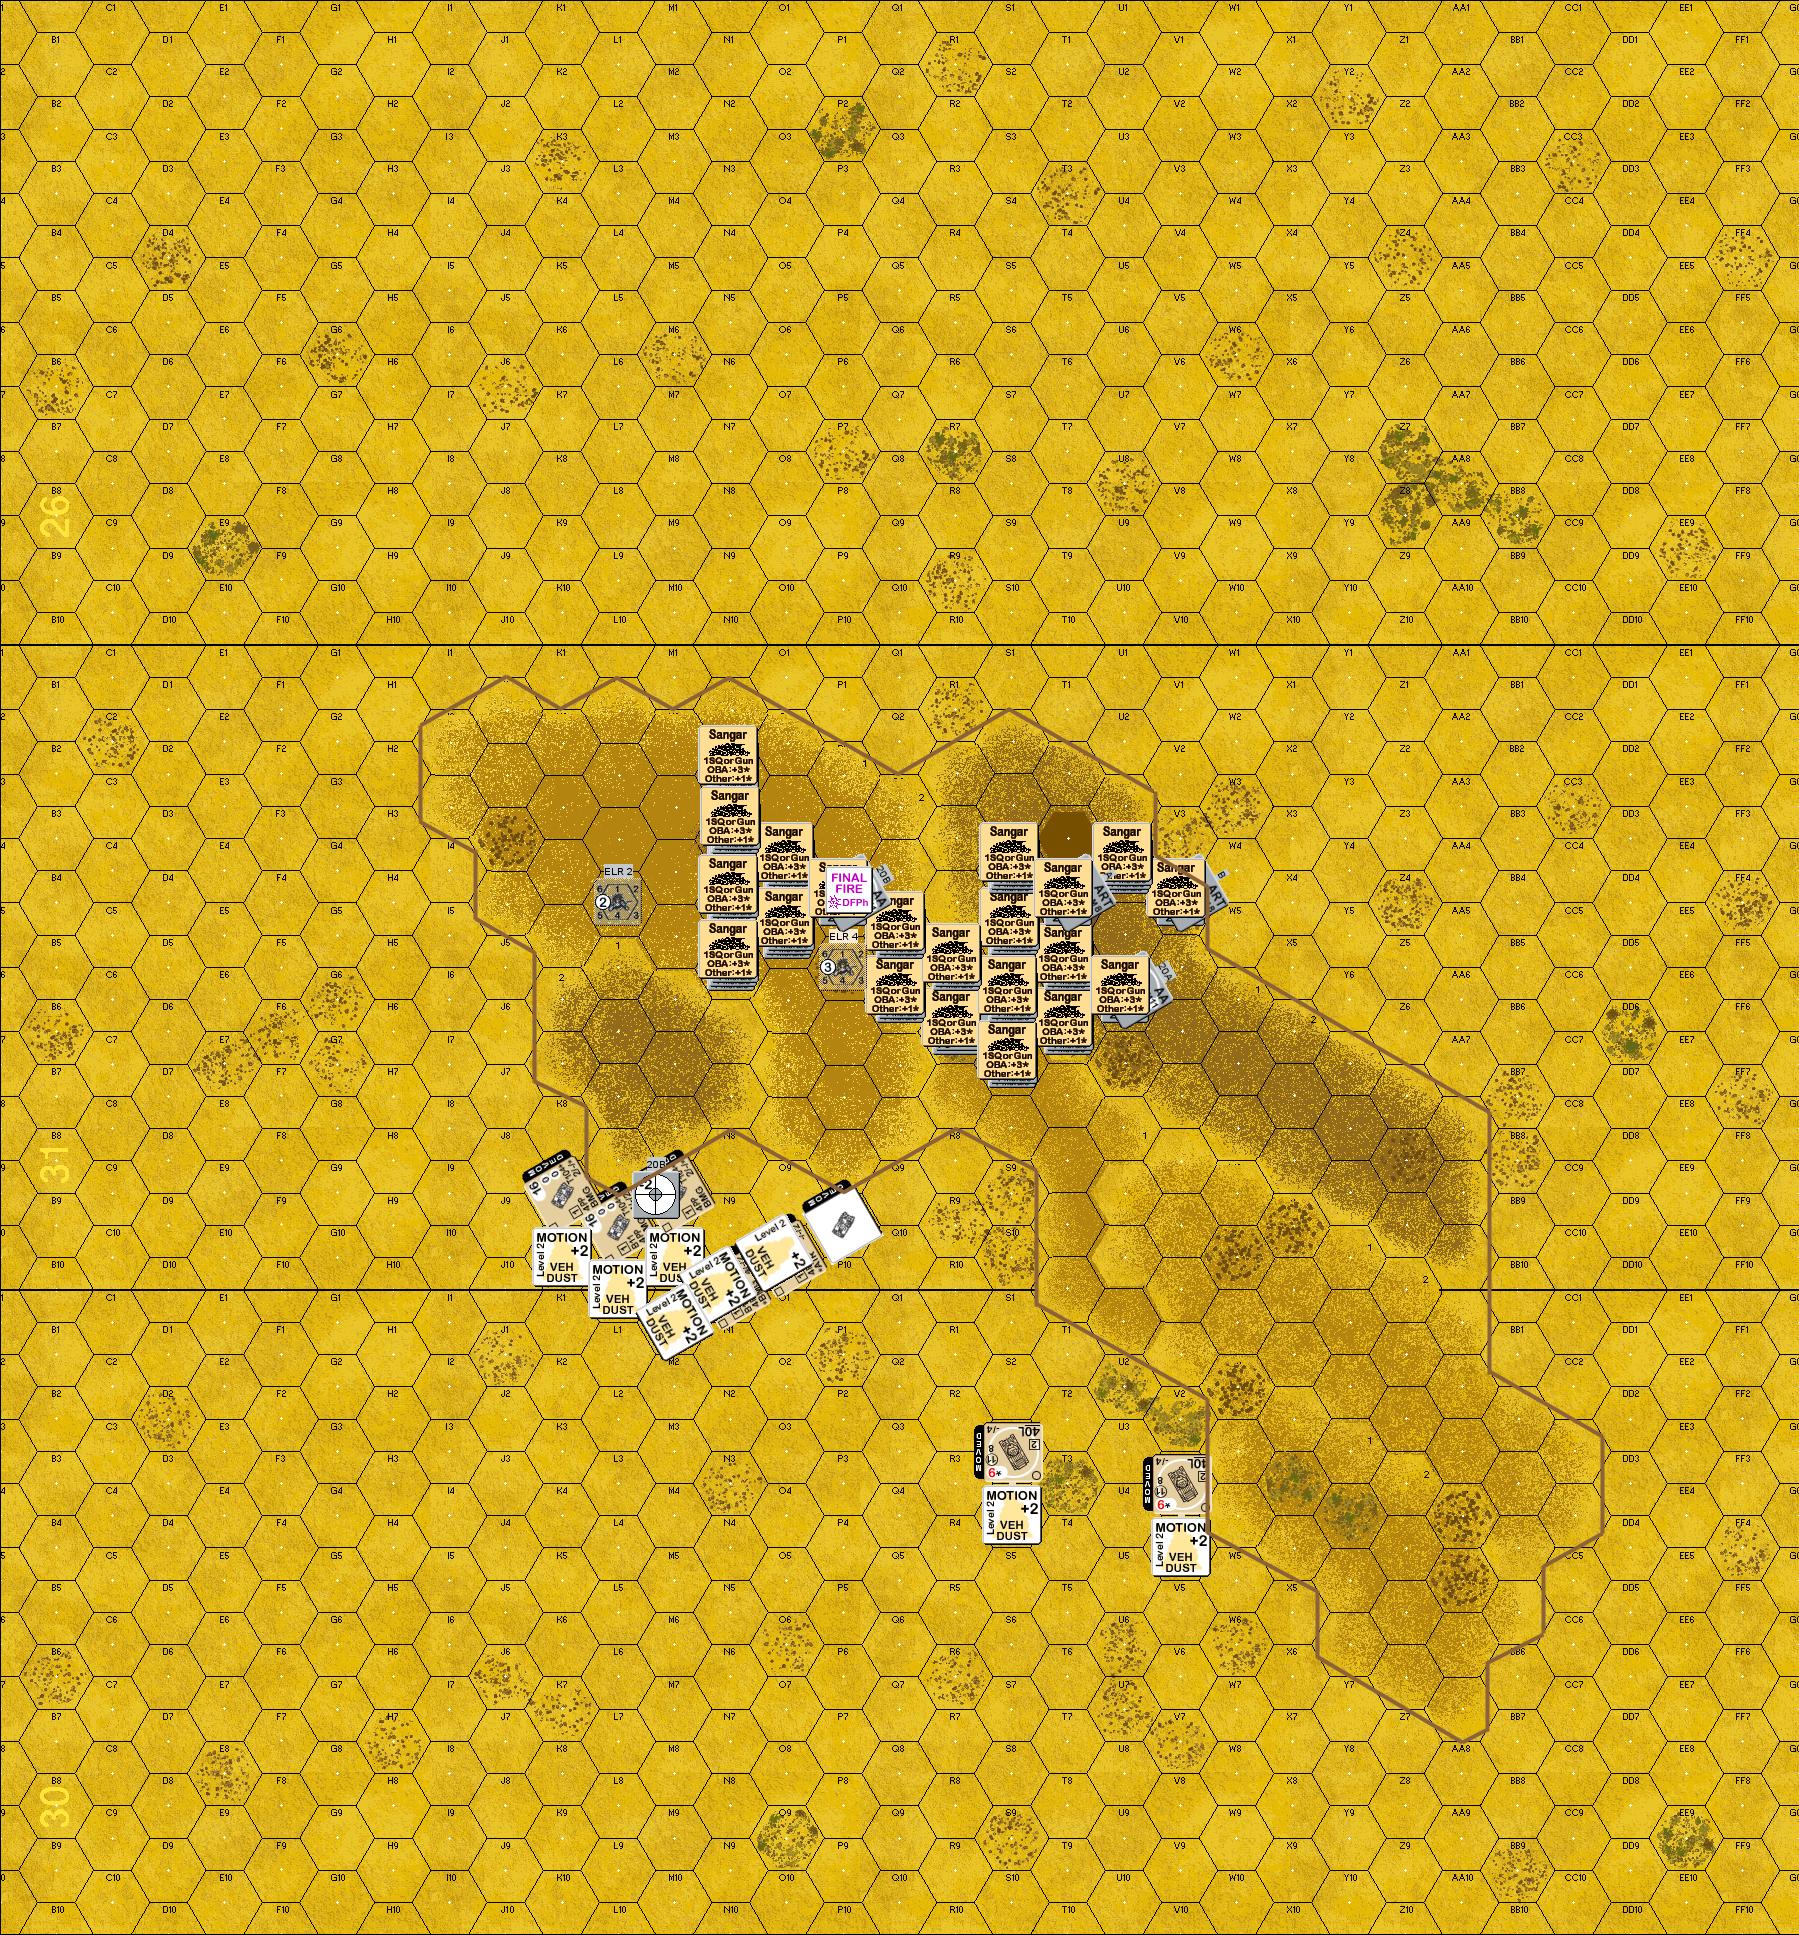
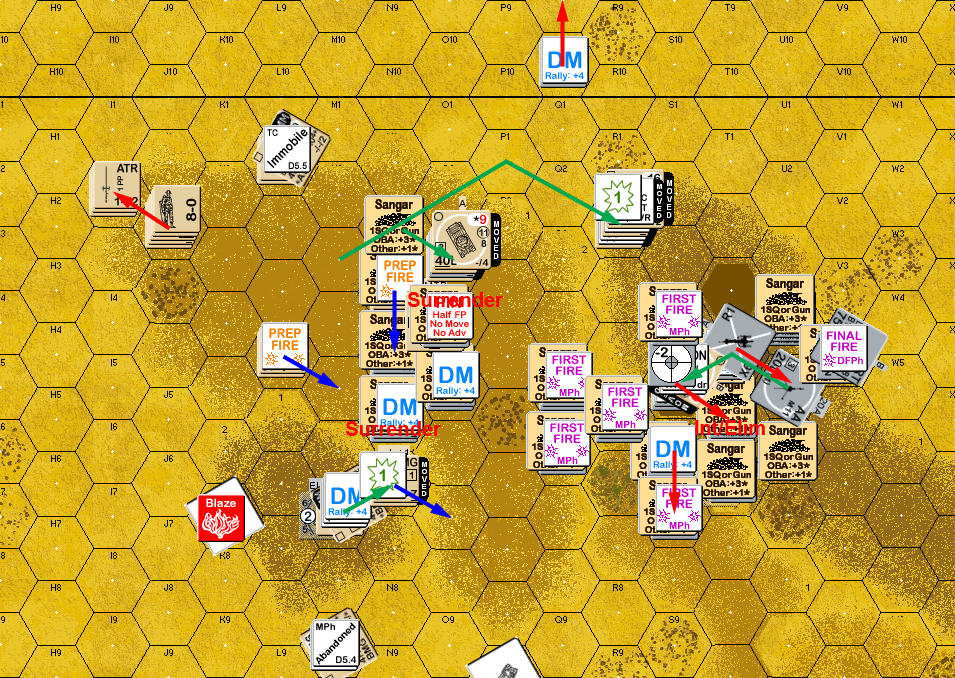
Situation, British Turn 1, showing the full board, and not bothering to show movement. The hillock overlays combine to be one big hillock, which is outlined in brown.
Thankfully, that AA missed (11!) for Patch’s prep, but a big fire group got a 2MC to stun the crew of the leading carrier. The other AA missed its target twice, and then started trying to push the three ART out of the sangars, only getting labor counters for his trouble.
The infantry can enter in either the south or the west. Both are about 13 hexes to the fringes of the Italian setup (at least Patch’s setup), and I went with a west entry so that I could bring them to bear on one flank instead of coming into range of the entire mass around the same time. That may have been a mistake as it meant the bulk of the summit hexes was about 20 hexes away instead of 15. I also tended a bit north of the hillock as I advanced to split his attention in two directions. His first shot was as a stack got into extreme LMG range, and a PTC halted a squad. A couple shots from another LMG at the last entering stack broke the MTR squad. The Matildas advanced, getting to within a couple hexes of the Italian mass. The stunned carrier HS piled out of the vehicle, taking a LMG with them. One of the remaining pairs started circling around to give the infantry some dust cover, but the AA nailed one after a couple hexes and burned it, and then immobilized the second one right after, causing the HS to bail out. The remaining pair then turned to go around in much the same plan, unmolested by further fire.
The Italian MTR got a hit (for NE) on its first shot, setting off my sniper, who broke the crew of an ART. It’s second shot CRed the MTR squad, and broke the other squad in the hex. One of the Matildas managed a NMC with its CMG, breaking an Italian squad.
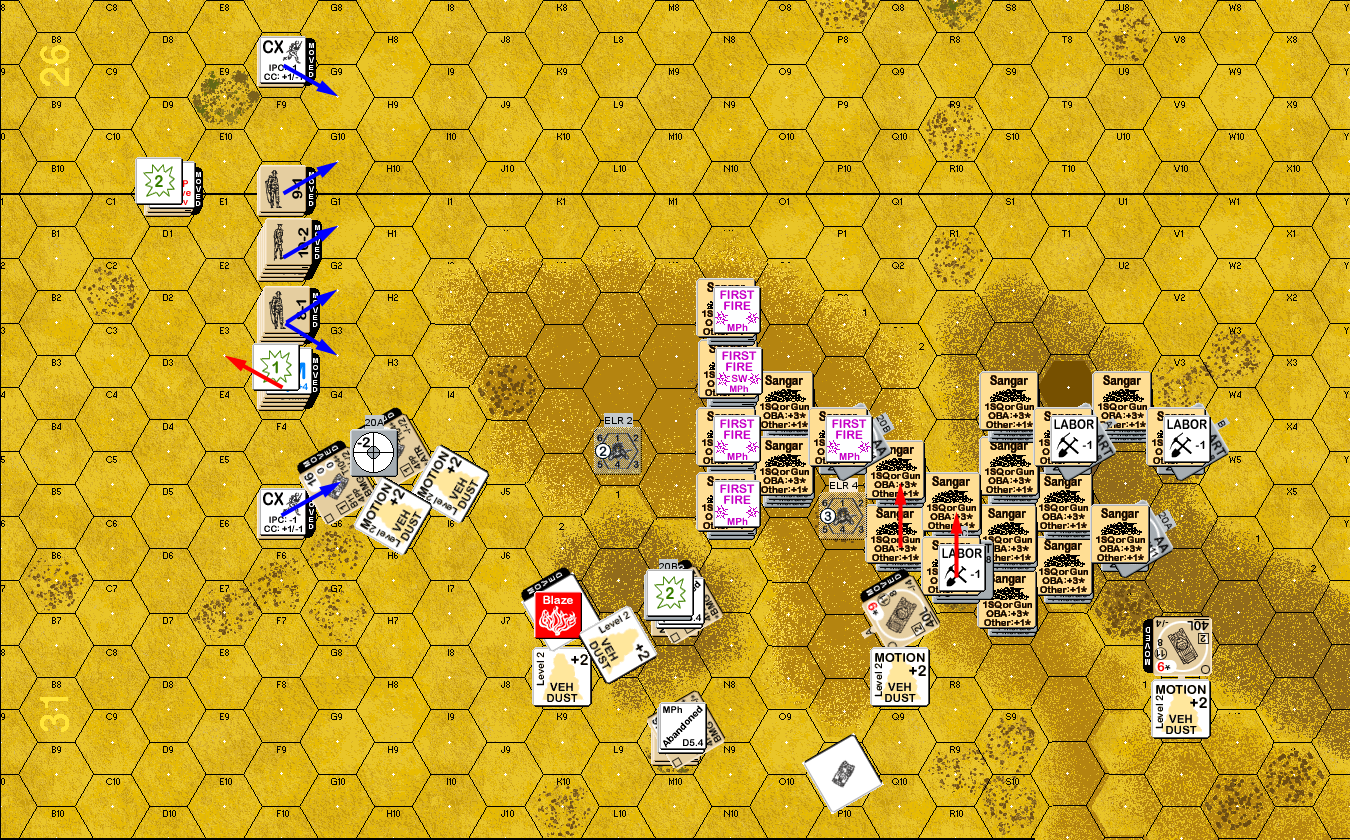
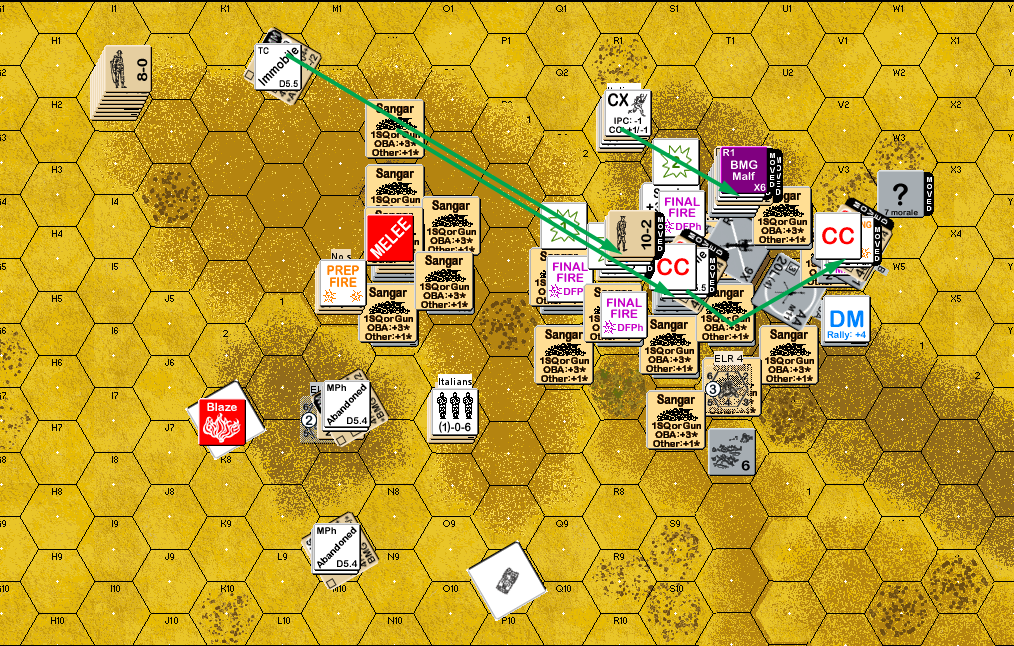
Situation, British Turn 2, still not showing movement.
Naturally, nothing rallied for Patch’s turn 2, but his MMG got a NMC to wipe out the remnants of the MTR squad (12!). A couple shots broke the carrier HS that bailed out of the immobilized vehicle last turn (11!). He then managed to push the two ART that had intact crews out of their sangars, and then got the second AA out of its sangar on the first attempt, and pushed it north to U5, adjacent to the two ART. The only other movement was the 7-0, who repositioned a bit. The only effect my DFPh had was to malf the CMG of a Matilda and a LMG. (A 6, an 8, a 10, two 11s and two 12s for me in that fire phase….)
The only thing in my RPh was repairing my LMG. The first move was a Matilda overrunning one of the ART, which took a couple shots on the way in, with no one doing anything to the other. The other one overran the abandoned ART, destroying the sangar it was still in and it, and then swung west, forcing a couple squads to come from under “?”, and ending on the AA’s hex so it couldn’t fire at the carriers. Speaking of, one of them circled around and parked at the edge of hillock to provide cover once the infantry got to it, and Patch set up a LMG fire lane as it went by. The other one armor assaulted a squad onto the hillock. Patch tried for another fire lane with it, but the LMG malfunctioned.
However, there were a lot of guys to fire at a lot of guys coming up in the open, and the British got about as shredded as I expected. The 9-1 and his squad broke. The 8-1 pinned, and the squad with him broke. The 10-2 braved the firelane. Thankfully, this was in vehicle dust, as the -1 FL shot was “merely” a K/1 to reduce the squad to a HS. For Final Fire, the east ART pivoted for another shot at the Matilda that overran it, but malfunctioned. The AA locked down by the other Matilda tried shooting it, but with a Final TK of 0, only managed to set off my sniper to pin a squad.
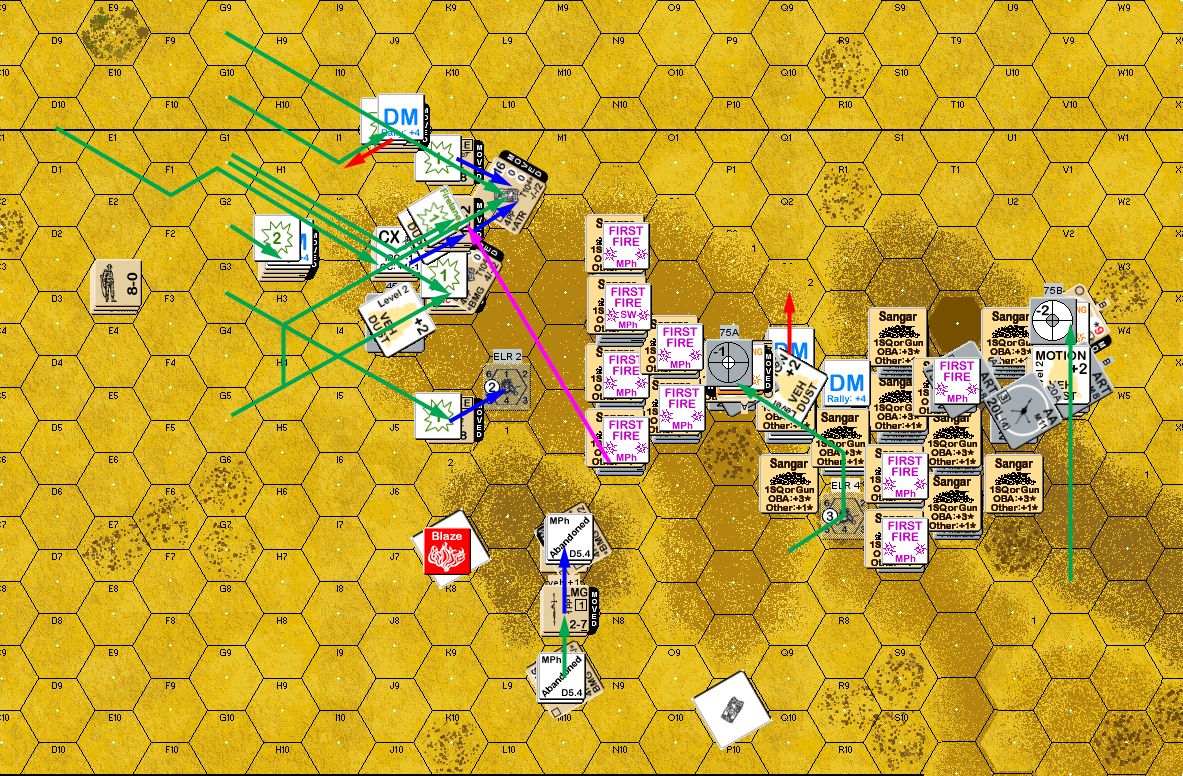
Patch repaired his ART for his turn 3 RPh, and I rallied the squad stuck back in 31E3 and repaired my CMG. Patch’s MTR got a CH on the L1 stack, with the random selection picking the carrier, 10-2 and squad, missing only the HS. This pinned the HS, broke the other two, and immobilized the carrier. Then the front line opened up on K3 and broke the squad and a half there, and stunned the carrier. A further attack broke the forward infantry in L4. Patch had minimal movement, but my fire with the two squads and two HS left me broke his MMG squad to a conscript HS. One Matilda got a K/1 with the CMG to knock out the ART crew in T4. A 7-0 and squad joined the AA crew in P4, but he couldn’t get a CC result on the Matilda. The other AA crew dropped their gun to go re-man the ART.
Everyone not under DM rallied for my turn 4 RPh (9-1 and two squads; also recovered the MTR); Patch’s 8-0 took the MMG away from the huddling HS, while the crew recovered the ART. The middle Matilda overran the hex it was in, breaking the squad there, and destroying the sangar+AA, then cruised into and through the front line, ending in N2, and leaving vehicle dust on the MMG. The ex-stunned carrier came up to point-blank of the MMG, so the 9-1 & squad could come up under cover of dust. The next moves were to close in with the front line of Italians, and Patch needed to spend a decent number of shots to stop me, sadly breaking and wounding (two failed MCs out of three) the 8-1 and his squad. A fire lane forced another squad out of the direct approach, but still got up to the main line. The east Matilda overran an ART again for no effect, but left it covered with vehicle dust.
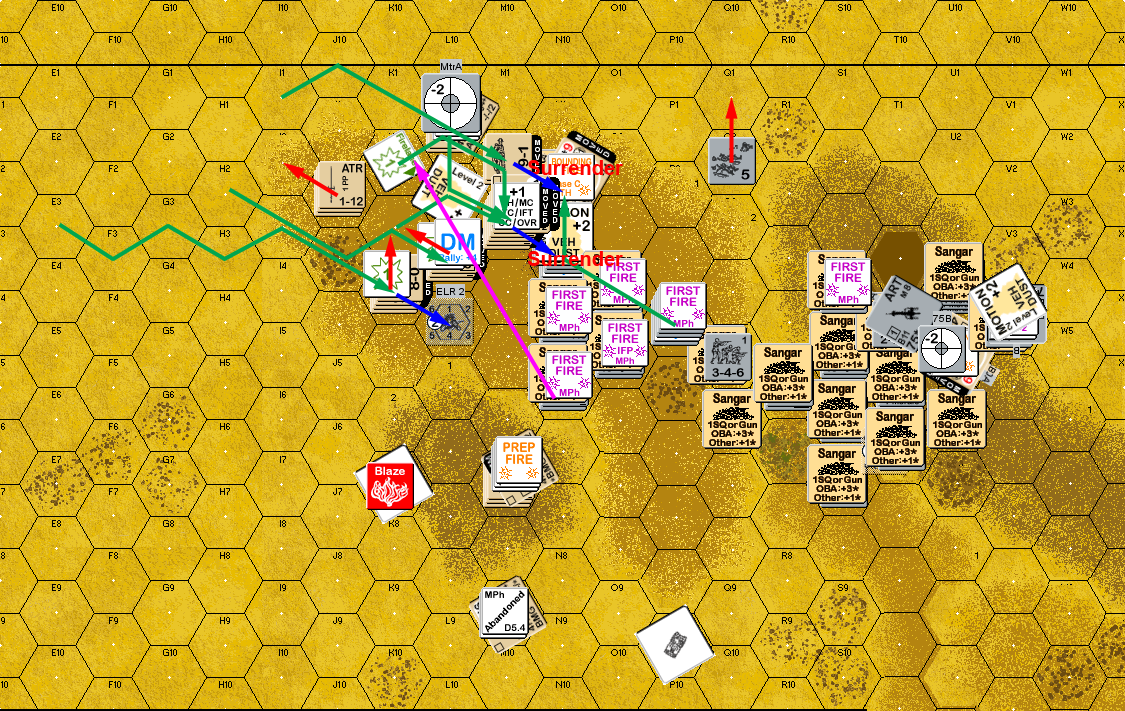
Thankfully, Patch had no effective shots during DFPh, but he did destroy the MMG, and I broke the LMG squad in N2. A squad and a half of Italians surrendered (N2 & N3), and another squad was eliminated for FtR (P4). I got into N3 and eliminated the leader (which didn’t feel as likely as it should’ve with how my dice had been).
All that happened for Patch’s RPh was I recovered his LMG and had a squad reduced on a 12 rally roll. He had a series of high rolls for prep, and the most that happened was the malfunction of a MTR. Patch moved his exposed guys in P4 to a sangar, and that was it. I managed to pin an LMG squad, and break his second MTR squad (…I think we missed the dawn LV for that, but he still would have broken); Patch advanced a new squad into the hex to take over after the original squad routed out.
For my turn 5, I rolled gusts (…oops), self-rallied a HS, and Patch rallied a spare crew. Having finally assembled my MTR I would have tried to put down some smoke with it, but instead got a good number of ROF shots, breaking and ELRing N5, and O5, and then not quite getting an effect with three hits on O4, while Patch’s sniper went off to break the HS in M7 that had just rallied, and other fire pinned the squad in O4.
The east Matilda did another overrun, and the ART he was OVRing malfunctioned from first fire right before the crew breaking. It then overran the second MTR and broke that squad. The other Matilda rolled forward a hex to let a squad get into assault position for the next hex of Italians in line, while the remaining mobile carrier armor assaulted a HS with all the prisoners towards the other half of the Italian defenses, and importantly, the mass of hillock summits. Patch didn’t manage to do any damage, and I broke the squad in O3, but also lost the captured LMG and broke the BMG on the mobile carrier. The S5 squad had to run to get away from the Matilda, and got a 12 Interdiction roll to evaporate, while another two squads surrendered. I went into CC in N4, without result.
Patch didn’t get anything for his rally, but my 10-2 finally self-rallied, and brought a squad with him. A big mass (two leaders, one wounded, two squads, and two HS) had gathered in I2, and a squad rallied from that. He had some prep fire, which pinned the MTR squad in M5. I pinned a couple units in Q5, but also malfunctioned the CMG on a Matilda (again!). O5 was eliminated for FtR as he was next to the melee, but had nowhere to go. There was more routing than movement, but Patch advanced two squads into the summit hexes, just to make things more difficult (and advanced others towards the summit of course). A crew and 7-0 took on a Matilda again, but couldn’t get anything, while the N4 melee continued.
For my final RPh I self-rallied the HS from last turn, a HS and a squad in I2… and disabled the CMG. I figured I just barely had what it took to make a victory possible. The hard parts were T4 (summit and malfed ART) and V4 (last ART) since I couldn’t get at them physically, and figured on using vehicles to Control them (which works as long as it’s otherwise empty; of course, he’d need to pass a PAATC to get in…), but I would have to break the units there to get them to rout out/surrender.
The MTR squad could barely get into the action, but fired, putting smoke into S4. (Another five shots with the MTR could have done wonders, but no.) The east Matilda turned around and overran V4, with the ART malfunctioning on the way in, but the crew rolled a 2 for the 1MC I generated. The other Matilda armored assaulted, and Patch encircled the infantry in R4, which killed the 9-1 (12…), reducing the prisoners, but the squad was fine… until they broke from the LLMC. The Matilda declared ESB to overrun S5 and immobilized itself. (…And I think we did the sequence wrong, since it’d have to declare the OVR as part of the entry, so it’d declare ESB in R4 instead of S5, which would have ended things right there.) The 10-2 and squad walked into R4 and survived the residual plus further fire. The carrier started up, and overran T3, took fire and ‘pinned’ which meant its OVR only pinned the squad there, which was effectively the game, as I had needed him to rout so I could get in there with a HS guarding a squad and a half of prisoners.
Afterword
Well, it managed a tense ending after a pretty bad opening. I was sure going in that the major problem would be getting at the victory locations, and I was generally right. An extra turn would have relaxed me enough that I’d have time to not get as shot up in the process as I did. At the end of the game, I had five intact squad equivalents, plus HS in two carriers still. Patch had three, plus three crews. Which shows that once the Italian position started going, it went fast.
Part of my reasoning was that the carriers were part of the all-vehicle wave for a reason, but I might have been much better served to keep them back. Use them for armored assault of the infantry, or to raise a smoke screen for them. The latter is something I attempted, but I just couldn’t coordinate it well enough. The Matildas on the other hand were obviously useful for charging into the center of the Italians and breaking everything up, as about the only thing that made them vulnerable was underbelly shots while overrunning a sangar, and Patch hadn’t wanted to stick around in those and get the ART auto-destroyed with the sangar.
Of course, my dice were also pretty bad during turns 2 and 3, with (among other things) the entire original MTR squad dying in about three rolls, because two of them were 12s. About the only thing that didn’t go wrong was malfunctioning a MA. But of course outside of OVR, I never used the MA since there’s no HE ammo, and the HE equivalency wasn’t worth the time (especially as they generally stayed motion, to boot).
I’m still unsure about this one. The tools are there, but with the amount of time just to come to grips with the Italians, the only saving grace is that the Italians are unable to use small arms fire until the last bit. It’s also a static defense scenario, though one of the better ones of that breed, I’d say.

Discussion (2) ¬