Two Rounds of Camalatrum
After Jackpot Jones’ untimely death, Patch and I did our usual pair of games of Commands & Colors: Ancients. Up this time was the Battle of Camalatrum, near the end of Spartacus’ rebellion. Both sides have separate detachments on the “wrong” side of the board. There is a camp that the Romans get a banner for as long as they occupy it. Also the ex-slaves start on hilltop positions, which can make them harder to deal with.
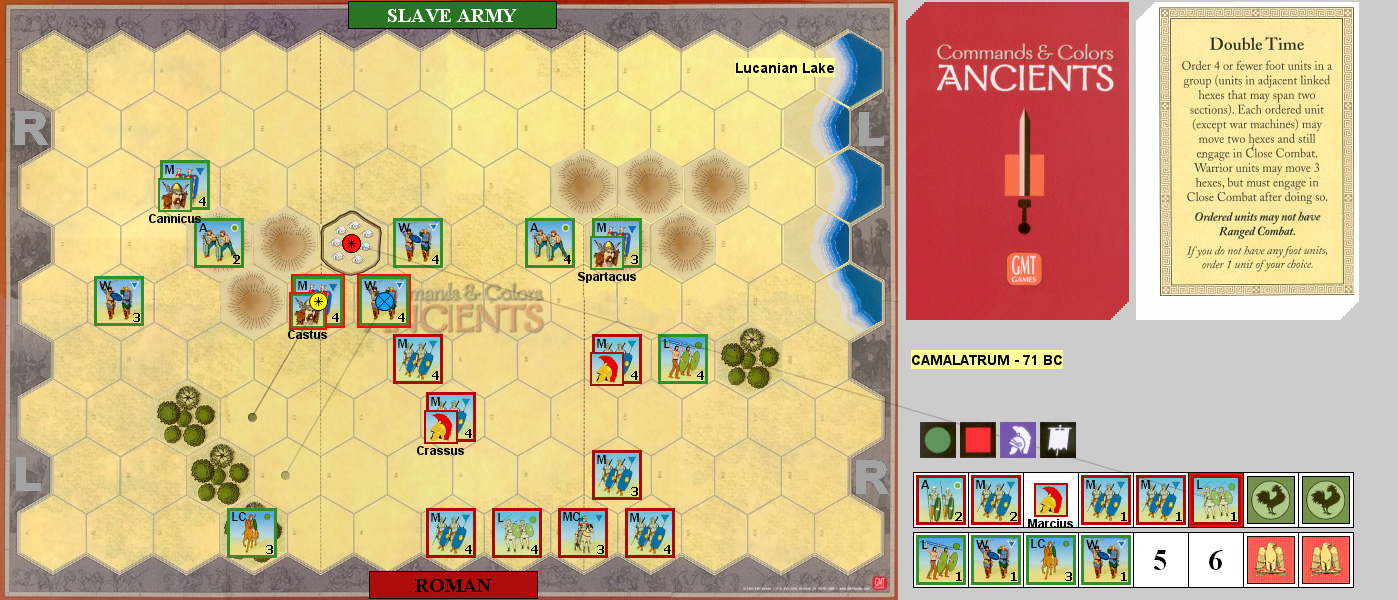
I had the slave army first, and started with Order Mounted to cycle it and move two LC. Patch Ordered Four Left to bring his detached force into contact with my center to take a block off an Auxilia. I Ordered Two Left to transfer a LC to the center and Patch advanced with Order Three Center. Order Two Right moved my detached force into the tree line and Patch used Leadership Any Section to bring his detached force to bear, knocking out my Lights at the corner of the hill, and then doing two blocks to a Warrior on momentum, and he took two blocks in exchange.
I Counter Attacked to drive Patch back off the hill, finishing off an Auxilia, knocking out a Medium, doing three blocks to another, and killing the surrounded Marcius, in exchange for four hits on three units. Patch Ordered Three Left to finish off a Warrior and Inspired Right Leadership let me engage with the remainder of my center to finish off a Medium and do three hits to the only Roman unit left there. Patch Ordered Two Center to kill an evading LC. I Ordered Mediums to bring my flanking force out of the woods (Patch had just advanced their target out of the way…) and finished off his Medium.
Patch Ordered Lights to occupy the camp, and I used Inspired Left Leadership to come down off the other hill and charge my own camp, doing two damage to the Light. Patch Out Flanked to knock out a Warrior and do a block to a Medium, taking one block in the process. I Double Timed my flanking force to the camp and finished off the Light. 6-4

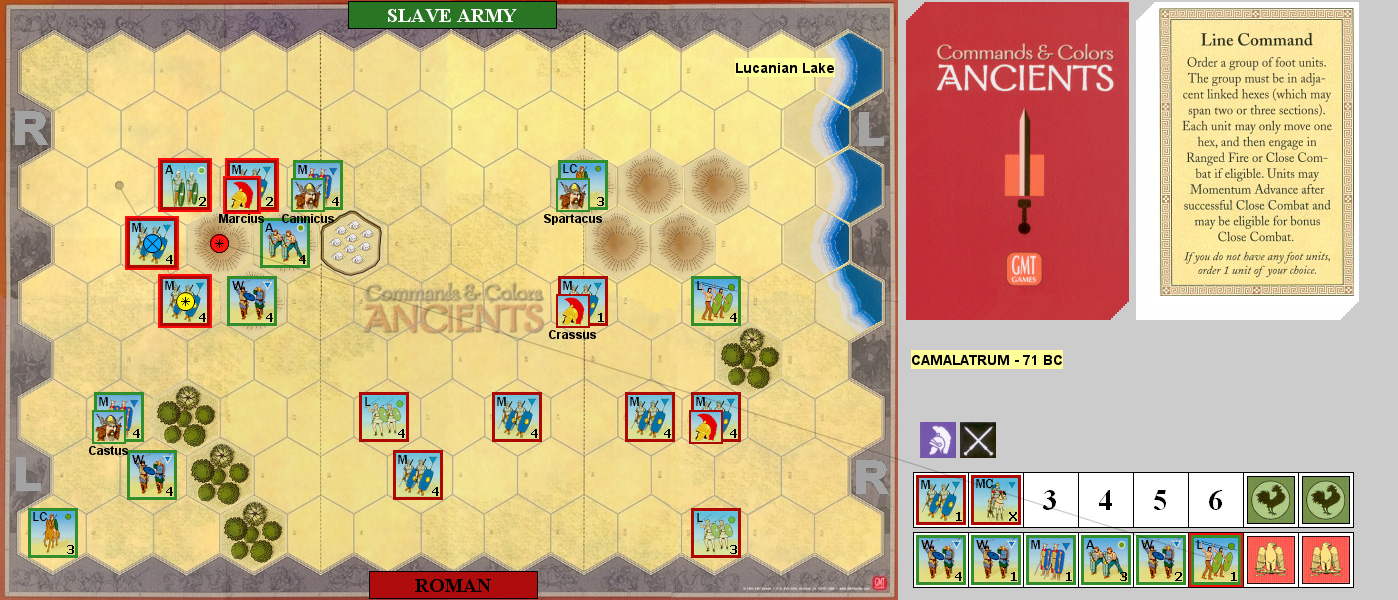
The second game started with moves on my right, with Patch doing a block to a Medium. I Ordered Mediums to assemble a line in there, wipe out a Warrior, and trade a block between Mediums. Inspired Left Leadership had Patch charge in again, finishing off my Medium, but taking four blocks on two units in return. I Ordered Three Center, finishing off a Warrior, a Medium, and an Auxilia, but losing my MC in the process.
Patch Ordered Two Center to get Spartacus to a new Warrior, and we did two blocks to each other. I used Line Command to bring in the separated group, doing one block to two against the corner Light. Patch Ordered Two Right for ineffective ranged combat and I used a second Line Command to envelop the hill, and we traded one block each again. Patch Ordered Three Center, doing four hits across two Mediums, but lost a Warrior. A third Line Command kept me going around the hill, where two attacks finally got the last two hits on his Light. 6-2

Afterword
I generally don’t like ‘set up in the enemy’s rear’ scenarios, because the rules don’t let them operate right. However, with both sides doing it here, it’s easier to take, and is unusual even for those.
I had to be a little cautious at the end of the first scenario, since occupying the camp put him at five banners, and a leader death (he wasn’t going to kill a unit, but the 1-in-36 could still happen) would actually give him the win. Both of us complained of poor cards at the start, and the scattered nature of the armies also hindered things. Once I got going, I kept moving, but the opening had little I could do.
My cards were better than Patch’s in the second game, but more importantly, my dice were amazing. Except for the uphill attacks, I had really good dice, and largely swept everything ahead of me.

Discussion ¬